HHZ Vapes18 products
 H2 Superior21 Vapes
 Flowers62 products
 I Love Pot
 Sheesh
 OnlyGrams
 Canapuff






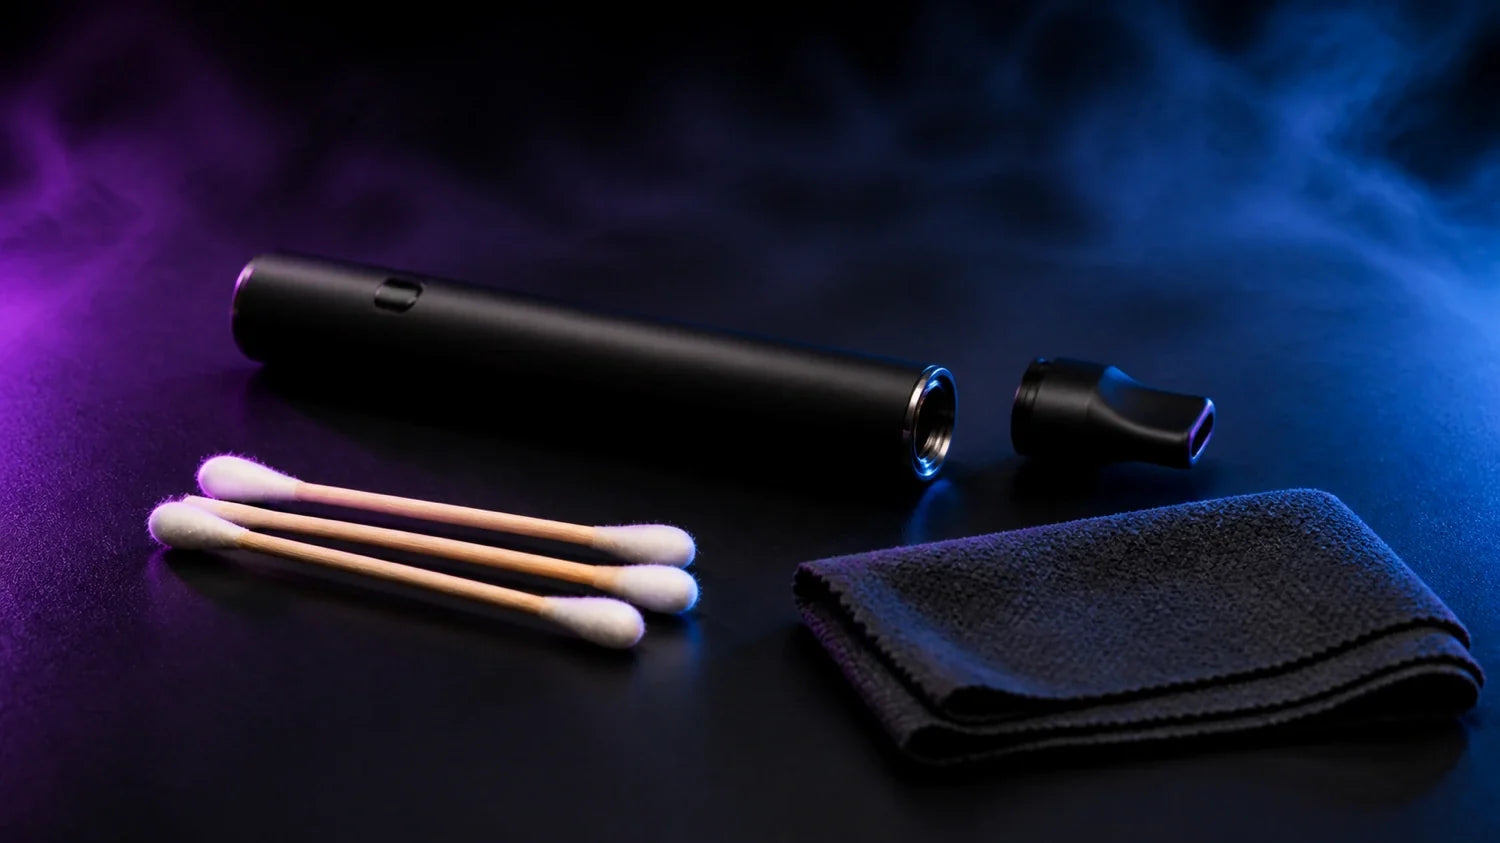
Table of contents
- Cleaning your vape: how often each task is due
- Preparation: switch off, cool down, take apart
- Cleaning your vape mouthpiece: the most important step
- Cleaning your vape contacts: when the device does not fire
- Cleaning your vape pod: what works and what does not
- Cleaning your vape tank on refillable devices
- Cleaning your vape coil: why it is rarely worth it
- Cleaning your vape with isopropyl alcohol: when yes, when no
- Differences by device type
- Caring for your vape battery properly
- Storing correctly for a longer service life
- When cleaning no longer helps
Most vapes do not die from a defect but from a lack of care. Weak draw, dull flavour, a device that no longer fires: behind almost all of these complaints are residues in places that can be cleaned in a few minutes, with no special tools at all.
The principle is simple: wherever liquid and condensate travel, you keep things clean. The electronics stay strictly dry. And caring for a vape means more than cleaning it, because the battery and storage also decide how long the device lasts. This guide shows step by step how to clean every part of your vape, when water and isopropyl alcohol are allowed and when they are not, how the device types differ and how to care for the battery.
Cleaning your vape: how often each task is due
| Task | Recommended interval |
|---|---|
| Wipe the mouthpiece | Every few days, more often with daily use |
| Clean the contacts | Weekly or when the draw weakens |
| Check the air channel | Weekly, immediately if the draw is stiff |
| Clean the tank thoroughly | Whenever you change flavour |
| Go over the whole device | About once a month |
| Replace the pod or coil | When flavour or draw fade |
These intervals are guidelines. If you use sweet, thick liquids, clean more often, because they leave far more residue than thin liquids. And if you carry your device loose in your trouser pocket, you should check the mouthpiece briefly every day.
Preparation: switch off, cool down, take apart
Before you start, switch the device off and let it cool down completely. If possible, remove the cartridge, pod or tank so you can reach the mouthpiece and connection freely. You do not need more than this kit:
- Cotton swabs for contacts, the air channel and tight spots
- A soft, lint-free cloth for the housing
- Lukewarm water for removable parts without electronics
- Optionally isopropyl alcohol for stubborn residue on glass and metal
Aggressive household cleaners, washing-up liquid in the electronics and acetone have no place on a vape. They attack seals and coatings, and you do not want to inhale residue from them.
Cleaning your vape mouthpiece: the most important step
The mouthpiece is the spot with the biggest effect. This is where condensate, dust and everything from your trouser pocket collects. Residue narrows the draw and distorts the flavour before the vapour even reaches you.
A removable mouthpiece you rinse briefly with lukewarm water and then let dry completely. Fixed mouthpieces you clean with a dry or lightly moistened cotton swab, inside and out. Work your way into the air channel you draw through as well, because condensate settles there and becomes sticky over time. A second, dry cotton swab picks up the loosened moisture again.
Cleaning your vape contacts: when the device does not fire
At the transition between the battery section and the cartridge or pod, liquid residue collects. It leads to poor contact, a weaker draw, or the device not reacting at all. Many supposedly defective vapes just have dirty contacts.
Gently wipe the contact surfaces on both sides with a dry cotton swab, that is, on the device and on the underside of the pod. For sticky residue the swab may be minimally moistened with isopropyl alcohol, then wiped dry afterwards. Water and harsh cleaners are off-limits here, because the electronics sit directly behind the contacts. Also do not push anything into the openings; a gentle wipe is enough.
Cleaning your vape pod: what works and what does not
With the pod, expectations are often too high. The vaporiser is built in permanently, and the inside cannot be cleaned in any meaningful way. What you can clean: the pod's mouthpiece, the outer contacts and the air channel from the outside. What does not work: rinsing out the pod to make it like new. Water inside dilutes liquid residue, soaks the cotton and ruins the flavour rather than saving it.
A pod is a wear part. If it tastes dull or burnt even though the fill level and contacts are fine, the coil inside is spent. Then you replace it instead of scrubbing. Cleaning noticeably extends a pod's life, but it does not turn a spent pod into a new one.
Cleaning your vape tank on refillable devices
Refillable tanks are the only parts that can take, and also need, a thorough wet clean. It is worth doing at the latest when you change flavour, because otherwise remnants of the old flavour mix into the new one.
- Take apart. Separate the tank from the battery section and take it down to its individual parts, removing the coil.
- Rinse. Rinse the glass and metal parts under lukewarm water. For stubborn residue, leave the parts to soak in warm water for 5 to 10 minutes.
- Loosen the stubborn bits. Wipe discolouration and sticky films on glass and metal with a cloth dipped in isopropyl alcohol, then rinse with water afterwards.
- Dry. Let all the parts air-dry completely on a cloth, ideally overnight. Residual moisture waters down the next liquid.
- Check the seals. When reassembling, check the rubber seals. Brittle or deformed seals are the most common cause of leaking tanks.
Cleaning your vape coil: why it is rarely worth it
The question comes up constantly, and the answer is sobering. A coil consists of a heating element and cotton, and the cotton is the problem: once residue has charred, it sits deep in the material. Rinsing with water or soaking in isopropyl alcohol removes surface sweetness but not the burnt layer. On top of that, a soaked coil has to dry for days before it can be used again, and even then it rarely tastes like it did before.
So treat coils and pods as what they are, namely wear parts. Replacing costs little, cleaning costs time and almost always delivers a worse result. Old coils, pods and devices do not belong in the household waste. Our guide on disposing of vapes properly.
Cleaning your vape with isopropyl alcohol: when yes, when no
Isopropyl alcohol is the standard agent for stubborn residue, but it does not belong on every part. Reach for the highest possible concentration, at least 70 percent, better 99 percent: the purer the alcohol, the faster it evaporates and the less moisture is left behind. This overview shows where it is allowed:
| Part | Isopropyl alcohol suitable? |
|---|---|
| Glass tank, taken apart | Yes, then rinse with water and let dry |
| Metal parts, threads | Yes, sparingly with a cloth or cotton swab |
| Contacts | Minimally moistened cotton swab, wipe dry afterwards |
| Plastic pods | No, alcohol can make plastic brittle and cause cracks |
| Coil and cotton | No, does nothing and leaves residue |
| Electronics and battery | No, never liquid on the electronics |
Basic rule for any wet cleaning, whether water or alcohol: only reassemble and use it once everything is truly dry. Alcohol fumes and residual moisture have no place in the vapour.
Differences by device type
- Disposable devices cannot be opened and are not cleaned. Here it is enough to keep the mouthpiece clean and dispose of the device properly after use.
- Cartridge and pod devices are cared for mainly at the mouthpiece and contacts. The pod and cartridge themselves are wear parts and are replaced, not laboriously cleaned.
- Refillable devices need the most care: the tank, mouthpiece and contacts are cleaned regularly, especially when changing flavour, and the coil is replaced on a routine basis as a wear part.
Caring for your vape battery properly
Care does not end at the vaporiser, because the battery largely determines how long your device lasts overall. Lithium batteries like neither deep discharge nor constant charging. So charge if possible before the device is completely empty, and do not leave it on the charger for days. The second big enemy is extreme temperatures, though in different ways: heat, for example in a car in summer, costs capacity permanently. Cold usually only reduces performance temporarily; it becomes dangerous during charging. A battery charged in freezing conditions can suffer lasting damage. So let a cold device come to room temperature before you plug it in.
Use the supplied or a suitable charger. Oversized fast chargers put unnecessary strain on small vape batteries. And a point that is often overlooked: the charging port gets dirty too. A dry cotton swab or a careful puff of air keeps the socket free of lint and dust.
Storing correctly for a longer service life
Keep the vape cool, dry and upright, protected from direct sun and heat. Upright storage prevents leaks and keeps the wick evenly soaked. Warmth makes liquid runny and encourages leaks, cold makes it thick and briefly weakens the draw. A fixed spot, such as a small case or dish, gives extra protection against knocks and against the fire button being pressed in your pocket.
For longer breaks: put the device away about half charged, empty the tank or remove the pod and store everything dry. A tank left full for weeks tends to leak, and a completely empty battery takes damage during long storage.
When cleaning no longer helps
If the draw and flavour stay weak despite a clean mouthpiece, a clear air channel and dry contacts, the vaporiser is usually spent or the cartridge is at its end. Heating elements age with every draw, and no cleaning helps against that. Then a replacement is due. If the device keeps drawing stiffly despite cleaning, you will find the remaining causes in our guide Vape won't draw. And if it tastes burnt, our guide Vape tastes burnt will help.
Regular care noticeably extends your device's service life. It does not change the basic point: vaping is not risk-free and not suitable for minors, pregnant or breastfeeding people, or anyone on medication.